In this blog post I will show how an image or video can be opened in the Lightbox Plugin through a programatically call. This is an extension of the script used in the previous blog post, Bootstrap JS Modal plugin in XPages: Using Lightbox for Bootstrap 3 Part I.
Adding the Programatically call in the initialization script
//Programatically call
$('#open-image').click(function (e) {
e.preventDefault();
$(this).ekkoLightbox();
});
$('#open-youtube').click(function (e) {
e.preventDefault();
$(this).ekkoLightbox();
});
![]()
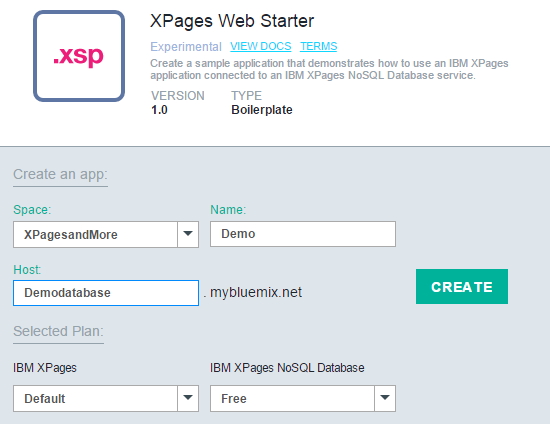
Setup Programatically call in an XPage
<div class="col-sm-10">
<div class="row">
<a href="images/bs.png"id="open-image" data-title="Lightbox Plugin" data-footer="Programatically call" class="col-sm-5">
<img src="images/bs.png" class="img-responsive"></img>
</a>
<a href="https://www.youtube.com/watch?v=SrQT443zfl0"id="open-youtube" data-title="Lightbox Plugin" data-footer="Programatically call" class="col-sm-5">
<img src="images/webvideo.jpg" class="img-responsive"></img>
</a>
</div>
</div>
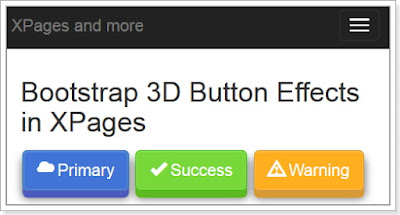
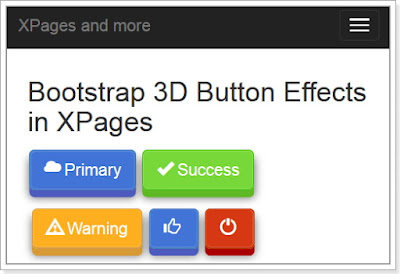
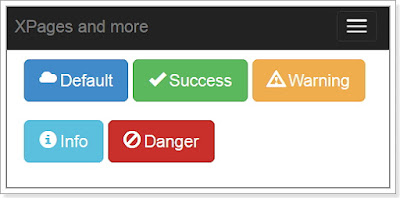
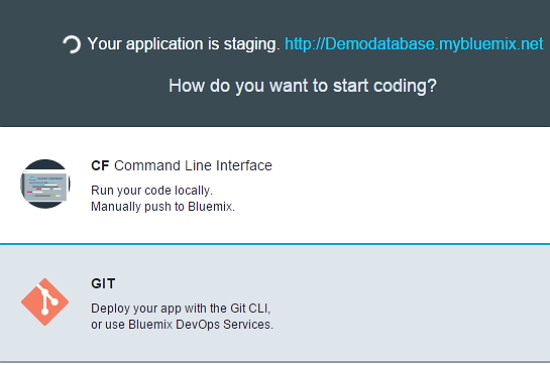
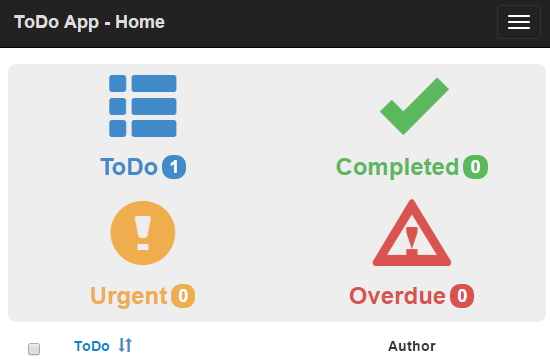
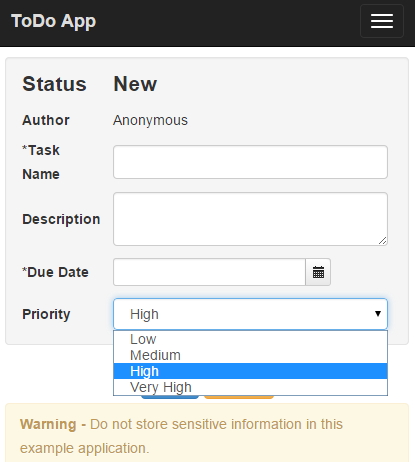
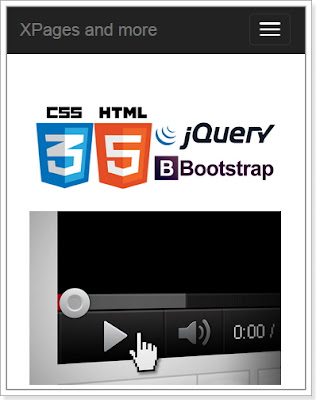
The final result using a Programatically call.
![]()
![]()
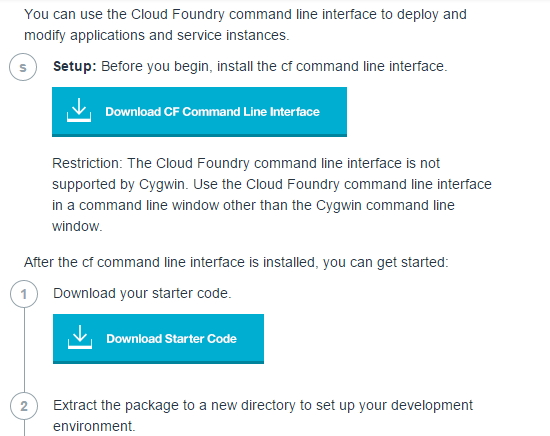
Code XPage
<?xml version="1.0" encoding="UTF-8"?>
<xp:view xmlns:xp="http://www.ibm.com/xsp/core"
xmlns:xc="http://www.ibm.com/xsp/custom">
<script type="text/javascript" src="lightbox/ekko-lightbox.js"></script>
<link rel="stylesheet" href="lightbox/ekko-lightbox.css" type="text/css" />
<script type="text/javascript">
$(document).ready(function ($) {
// delegate calls to data-toggle="lightbox"
$(document).delegate('*[data-toggle="lightbox"]:not([data-gallery="navigateTo"])', 'click', function(event) {
event.preventDefault();
return $(this).ekkoLightbox({
onShown: function() {
if (window.console) {
return console.log('Checking our the events huh?');
}
},
onNavigate: function(direction, itemIndex) {
if (window.console) {
return console.log('Navigating '+direction+'. Current item: '+itemIndex);
}
}
});
});
//Programatically call
$('#open-image').click(function (e) {
e.preventDefault();
$(this).ekkoLightbox();
});
$('#open-youtube').click(function (e) {
e.preventDefault();
$(this).ekkoLightbox();
});
$(document).delegate('*[data-gallery="navigateTo"]', 'click', function(event) {
event.preventDefault();
return $(this).ekkoLightbox({
onShown: function() {
var a = this.modal_content.find('.modal-footer a');
if(a.length > 0) {
a.click(function(e) {
e.preventDefault();
this.navigateTo(2);
}.bind(this));
}
}
});
});
});
</script>
<xc:ccLayoutBootstrap><xp:this.facets>
<xp:panel xp:key="facetMiddle">
<xp:br></xp:br>
<div class="col-sm-10">
<div class="row">
<a href="images/bs.png" id="open-image" data-title="Lightbox Plugin" data-footer="Programatically call" class="col-sm-5">
<img src="images/bs.png" class="img-responsive"></img>
</a>
<a href="https://www.youtube.com/watch?v=SrQT443zfl0" id="open-youtube" data-title="Lightbox Plugin" data-footer="Programatically call" class="col-sm-5">
<img src="images/webvideo.jpg" class="img-responsive"></img>
</a>
</div>
</div>
<xp:br></xp:br>
</xp:panel>
</xp:this.facets>
</xc:ccLayoutBootstrap>
</xp:view>
In the next post we'll look at image and video galleries.
Adding the Programatically call in the initialization script
//Programatically call
$('#open-image').click(function (e) {
e.preventDefault();
$(this).ekkoLightbox();
});
$('#open-youtube').click(function (e) {
e.preventDefault();
$(this).ekkoLightbox();
});
Setup Programatically call in an XPage
<div class="col-sm-10">
<div class="row">
<a href="images/bs.png"id="open-image" data-title="Lightbox Plugin" data-footer="Programatically call" class="col-sm-5">
<img src="images/bs.png" class="img-responsive"></img>
</a>
<a href="https://www.youtube.com/watch?v=SrQT443zfl0"id="open-youtube" data-title="Lightbox Plugin" data-footer="Programatically call" class="col-sm-5">
<img src="images/webvideo.jpg" class="img-responsive"></img>
</a>
</div>
</div>
The final result using a Programatically call.


<?xml version="1.0" encoding="UTF-8"?>
<xp:view xmlns:xp="http://www.ibm.com/xsp/core"
xmlns:xc="http://www.ibm.com/xsp/custom">
<script type="text/javascript" src="lightbox/ekko-lightbox.js"></script>
<link rel="stylesheet" href="lightbox/ekko-lightbox.css" type="text/css" />
<script type="text/javascript">
$(document).ready(function ($) {
// delegate calls to data-toggle="lightbox"
$(document).delegate('*[data-toggle="lightbox"]:not([data-gallery="navigateTo"])', 'click', function(event) {
event.preventDefault();
return $(this).ekkoLightbox({
onShown: function() {
if (window.console) {
return console.log('Checking our the events huh?');
}
},
onNavigate: function(direction, itemIndex) {
if (window.console) {
return console.log('Navigating '+direction+'. Current item: '+itemIndex);
}
}
});
});
//Programatically call
$('#open-image').click(function (e) {
e.preventDefault();
$(this).ekkoLightbox();
});
$('#open-youtube').click(function (e) {
e.preventDefault();
$(this).ekkoLightbox();
});
$(document).delegate('*[data-gallery="navigateTo"]', 'click', function(event) {
event.preventDefault();
return $(this).ekkoLightbox({
onShown: function() {
var a = this.modal_content.find('.modal-footer a');
if(a.length > 0) {
a.click(function(e) {
e.preventDefault();
this.navigateTo(2);
}.bind(this));
}
}
});
});
});
</script>
<xc:ccLayoutBootstrap><xp:this.facets>
<xp:panel xp:key="facetMiddle">
<xp:br></xp:br>
<div class="col-sm-10">
<div class="row">
<a href="images/bs.png" id="open-image" data-title="Lightbox Plugin" data-footer="Programatically call" class="col-sm-5">
<img src="images/bs.png" class="img-responsive"></img>
</a>
<a href="https://www.youtube.com/watch?v=SrQT443zfl0" id="open-youtube" data-title="Lightbox Plugin" data-footer="Programatically call" class="col-sm-5">
<img src="images/webvideo.jpg" class="img-responsive"></img>
</a>
</div>
</div>
<xp:br></xp:br>
</xp:panel>
</xp:this.facets>
</xc:ccLayoutBootstrap>
</xp:view>
In the next post we'll look at image and video galleries.